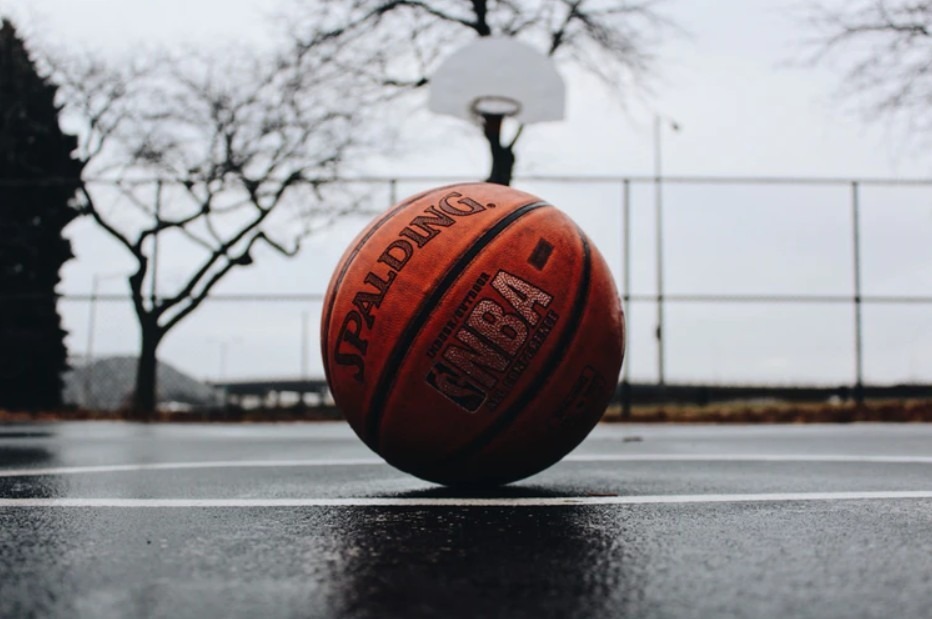
Has it ever crossed your mind how basketballs are made? Without these spherical balls being dribbled, passed around, and thrown into the basket, casual players, athletes, and spectators in the world won’t be able to play to see the fantastic sport. Thanks to technology, basketballs have gone a long way in terms of construction, design, and materials, far from the soccer balls utilized in the sport’s early years of existence.
Read on below and discover the development and processes behind the creation of a basketball.
Material and Design
In 1891, Dr. James Naismith, the sport’s creator, used soccer balls to facilitate the game. It was only in 1894 when the first purpose-built ball was created using laced leather, weighing nearly 20 oz with a 32-inch circumference. In 1948, laced basketballs were sidelines, signaling the entry of the molded version and genuine leather basketballs, with a smaller circumference of 30 inches.
Since then, more developments came into the material and construction of the ball, changing the number of panels and the use of other materials, such as composite leathers, synthetic rubber, and other rubberized materials. Meanwhile, pre-made decals or foil are used for the labels or information seen on the ball, affixed or imprinted through small heat presses using zinc and copper plates.
Further improvements were also made to improve the ball and the players’ experience. Such as the usage of sweat-absorbing material to make the ball less slipper and the addition of dimples resembling that of the golf ball to provide basketball players a better grip. Basketballs are also now classified for indoor-use, outdoor-use, or a combination of both to suit different playing conditions.
Yet, configuration varies from one league to another. Each organization has its own set of rules and guidelines on its regulation balls, usually differing in circumference. Size 7 (29.5″) is the standard size for most men’s professional, collegiate, and high school basketball leagues. Size 6 (28.5″) is the standard size for most women’s basketball leagues, while size 5 (27.5’) is the chosen size for youth basketball games. Promotional basketballs, usually created as souvenirs, don’t conform with the official size and are much smaller than regulation balls.
Processes Behind the Creation of a Basketball
Basketballs undergo four different stages, with each step aimed to ensure the final products’ optimum performance. The four stages include:
1. Crafting the inner bladder
2. Forming the ball’s spherical shape
3. Creating the ball’s cover
4. Testing and inspection
Stage 1: Crafting the inner bladder
The inner bladder refers to its basketball’s core, created from black butyl rubber. The rubber is available in bulk, which is then heated and turned into a flat sheet. A one-inch (2.54 centimeter) hole is punched to provide space for the air fuller tube. The air tube is installed, and the sheet goes into a vulcanization process to seal the rubber. Afterward, the core is inflated and is left in a chamber for 24 hours. It’s practically the initial testing stage, which checks the inner bladder’s ability to hold air. All that will pass proceeds to the next step of the manufacturing process, while those that will fail will not be disposed of but are instead recycled.
Stage 2: Forming the ball’s spherical shape
Most will think that the inner bladder already takes the perfect shape of the basketball. It’s the opposite as it’s actually oddly-shaped. To provide it its’ uniform size and shape, inner blades need to go through a winding or twining process, where they are wrapped with nylon, polyester, or string threads through the aid of a precisely-controlled machine. The threads give the ball its spherical shape and also keep the ball from being deformed. The type of thread used generally affects the performance and the cost. The higher the quality, the better performance, but the higher the price.
Stage 3: Creating the ball’s cover
Once the shape has been formed, the next stage will be creating the ball’s cover. Different materials are used for the covering, ranging from leather, regular rubber, synthetic rubber, and other rubberized materials. Panels are created from the chosen material and are then stamped or embossed with the desired markings.
Leather covering is stitched to the inner blades, while rubber covering is glued. After sealing the panels onto the inner bladders, the decals, labels, or foil marking are attached using small heat presses. Another 24-hour period is allotted to check the finished products’ air retention.
Stage 4: Testing and inspection
After completing the second 24-hour check, the standard testing and inspection phase begins. The basketball must pass a “bounce test” to check if it adheres to the prescribed bouncing height. The ball dropped at a 72-inch and must pop up 52 to 56 from the ground to be considered suitable for use. Minor details like the graphics, labels, and decals are then inspected. Any glue left between the ball’s panels is removed. Finally, all those that will pass are deflated and soon packed in boxes or plastic bags to be sent to retailers.
Final Words
Now that you’re aware of how basketballs are made, you might as well educate your child about it as you give them a basketball as a gift or share the information with your friends on your next game date. After all, it’s always great to learn something new about the sport you love playing.
For tips on how to get the best basketballs on the market, take a look at our Guide to Selecting the Right Basketball.

