How to Properly Break in New Soccer Cleats for Optimal Performance
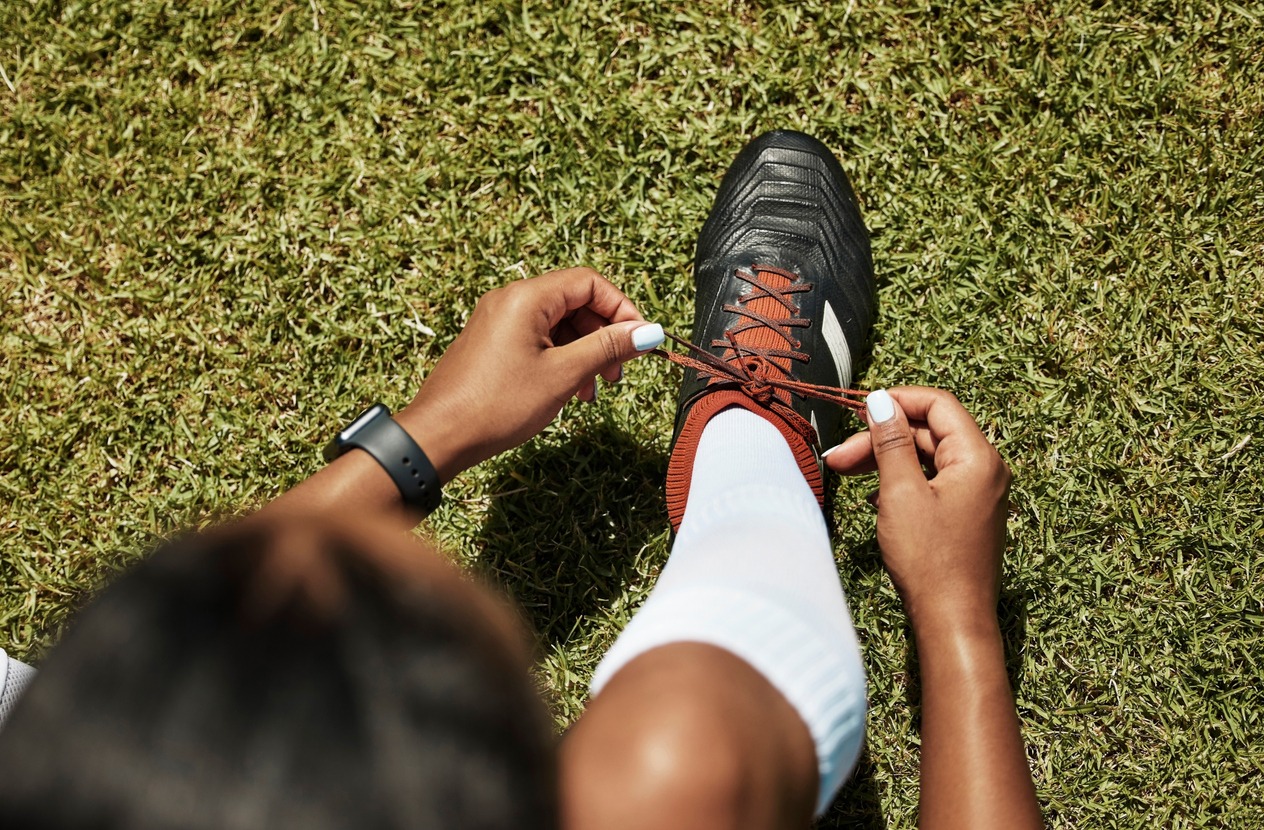
Breaking in a new pair of soccer cleats can feel like a chore, but it’s one of the most important steps to maximize comfort and performance on the field. A proper break-in process ensures your cleats fit perfectly, reducing the risk of blisters and injuries while boosting your game. Rushing into a match with stiff, unbroken cleats can turn an exciting game into a painful experience, so let’s take it step by step. Here’s everything you need to know to get those cleats game-ready.
Why Breaking in Your Cleats is Essential
Imagine stepping onto the field with stiff, unforgiving cleats. Not only does it hinder your movements, but it also increases the chances of painful blisters and foot fatigue. Breaking in your cleats isn’t just about comfort—it’s about performance and injury prevention. Well-fitted cleats allow for better control, quicker reactions, and enhanced comfort during long matches. Taking the time to break them in properly ensures your footwear works with you, not against you.
Think about how cleats affect your overall performance: a snug, broken-in fit helps you make faster cuts, improves ball control, and lets you stay focused on the game rather than discomfort. On the flip side, poorly fitting cleats can lead to distractions, lost opportunities, and even injuries that take you out of the game entirely.
Preparing Your Cleats Before Wearing Them
Before you even think about lacing up and heading to practice, you need to prep your cleats. Here are some crucial first steps:
- Inspect Your Cleats: Check for any manufacturer defects. A small stitching flaw or irregularity can cause major discomfort later. It’s better to catch these issues early so you can address them or exchange the cleats if necessary.
- Understand the Material: Know whether your cleats are made of leather or synthetic materials. This determines how you approach the break-in process (we’ll get into that later). Leather cleats often need more attention, while synthetics can be a bit more forgiving.
- Thick Socks Are Your Friend: Put on a pair of thick socks and wear your cleats around the house. This stretches the material slightly and helps you get a feel for any tight spots. Walking around your living room might not seem like much, but it’s an easy way to start the process without putting unnecessary strain on your feet.
- Condition Leather Cleats: If your cleats are leather, apply a thin layer of leather conditioner to soften the material. This will make them more pliable and comfortable during the break-in process. Plus, it helps keep the leather from cracking over time, which is a bonus for durability.
- Shape Maintenance: Stuff your cleats with newspaper when you’re not wearing them. This helps maintain their shape and absorbs any moisture. Moisture can lead to bacteria buildup, so this step is especially important if your feet tend to sweat a lot.
The Warm Water Method for Leather Cleats
For those rocking leather cleats, the warm water method is a game-changer. This technique helps soften the leather, molding it to your foot for a custom fit. Here’s how to do it safely:
- Set the Right Temperature: Fill a container with warm water (around 90-100°F). Avoid using hot water, as it can damage the leather. Too cold, and the process won’t work effectively.
- Submerge Your Cleats: Place your cleats in the water for 15-20 minutes. Make sure only the leather upper is submerged; avoid soaking the soleplate or insole. Soaking the wrong parts can lead to issues like warping or loosening of the adhesive.
- Wear Them Damp: After soaking, put on thick socks, slip on the damp cleats, and wear them for about an hour. This allows the leather to stretch and mold to your foot shape. Walk around and perform light movements to maximize the effect.
- Natural Drying: Let your cleats air dry at room temperature. Never use direct heat, like a hairdryer, as this can cause the leather to crack. Patience is key here; rushing the drying process can ruin the cleats.
The warm water method is a quick way to break in leather cleats, but it’s not suitable for synthetic materials. Stick to gradual wear for synthetics (more on that below).
Gradual Training Techniques
Breaking in your cleats isn’t something you do in one day. It’s a process that requires patience. Here’s a step-by-step guide to get your cleats field-ready:
- Start Small: Begin by wearing your cleats during light activities. A 15-20 minute session of jogging or walking is enough for the first day. Focus on getting a feel for the fit and identifying any pressure points.
- Increase Intensity Gradually: As your cleats begin to soften, incorporate more dynamic movements like directional changes, light sprints, and ball control drills. This helps the cleats adjust to the way your feet move during a game.
- Monitor Discomfort: Pay close attention to any areas that feel tight or cause discomfort. Address these issues immediately to avoid blisters or bruises. A quick fix might involve using blister pads or adjusting your socks.
- Rest Periods: Allow your cleats and your feet to rest between sessions. This gives the material time to adjust and prevents overuse injuries. Think of it as a break for both your shoes and your feet to recover.
By the end of this gradual process, your cleats should feel like an extension of your feet, ready to tackle full matches with ease. It might take a couple of weeks, but the results will be worth it when you’re comfortable on the field.
Material-Specific Break-In Techniques
Not all cleats are created equal. Leather and synthetic cleats require different approaches to break ineffectively:
Leather Cleats:
- Use the warm water method to soften the material quickly. This technique ensures a custom fit tailored to your foot shape.
- Apply leather conditioner regularly to maintain suppleness. Without regular conditioning, the leather may dry out and lose its flexibility.
- When not in use, stuff the cleats with newspaper to retain their shape. This prevents them from shrinking or developing creases in unwanted areas.
Synthetic Cleats:
- Start with short training sessions, gradually increasing duration and intensity. Synthetic materials are less flexible but more durable, so gradual wear helps you adjust.
- Synthetic materials don’t stretch as much as leather, so focus on getting the right size from the start. If they’re too tight initially, they likely won’t get much better over time.
- Avoid water-based methods; instead, rely on gradual wear to break them in. Exposure to water can damage the integrity of synthetic materials.
General Tips for Both Materials:
- Always dry your cleats naturally if they get wet. Leaving them in damp conditions can cause odor and material breakdown.
- Avoid over-tightening the laces during the break-in period, as this can distort the cleats’ shape. Instead, adjust the laces for a snug but comfortable fit.
Common Mistakes to Avoid
Even with the best intentions, it’s easy to make mistakes when breaking in your cleats. Here are a few pitfalls to steer clear of:
- Rushing the Process: Trying to break in your cleats in one or two sessions is a recipe for blisters and discomfort. Give your feet and cleats time to adjust.
- Using Extreme Heat: Never expose your cleats to direct heat sources like radiators or hairdryers. This can warp the material and ruin your cleats permanently.
- Ignoring Pain: If your cleats are causing significant discomfort, don’t push through it. Take a break and address the issue before it worsens. A little patience now will save you a lot of pain later.
- Skipping Maintenance: Neglecting to condition leather cleats or properly dry synthetic ones can shorten their lifespan. Regular care is key to long-lasting performance.
Maintaining Shape During the Break-In Period
Keeping your cleats in good shape is just as important as breaking them in. Here’s how to ensure they stay in top condition:
- Stuffing and Stretching: Use newspaper or shoe stretchers to maintain the cleats’ shape when you’re not wearing them. This simple step goes a long way in preventing unwanted creases or misshaping.
- Proper Storage: Store your cleats in a cool, dry place. Avoid leaving them in your bag for extended periods, especially if they’re damp. Dampness leads to odors and weakens materials over time.
- Lace Management: Don’t over-tighten your laces during the break-in process. Tight laces can distort the cleats and cause unnecessary pressure on your feet.
Troubleshooting Common Issues

If you’re still experiencing discomfort after following these steps, consider the following solutions:
- Hot Spots: Use moleskin or athletic tape to protect areas prone to rubbing. These quick fixes can save you from blisters.
- Persistent Tightness: Try a professional shoe stretcher for leather cleats. This tool can help ease pressure in particularly tight areas.
- Blisters: Give your feet a break, and use blister pads to prevent further irritation. It’s better to address the issue early rather than let it worsen.
Long-Term Care for Your Cleats
Once your cleats are broken in, proper maintenance is key to ensuring they last through the season. Clean them after every use, condition leather cleats regularly, and replace worn-out insoles when needed. Investing time in cleat care will keep them comfortable and performing at their best.
Think of your cleats as an essential tool for your performance. The better you care for them, the better they’ll support you on the field. A little extra effort now can extend their lifespan and keep you at the top of your game.
Conclusion
Breaking in new soccer cleats takes patience, but it’s worth every effort. By following these steps, you’ll not only achieve a perfect fit but also enhance your performance on the field. Remember, the goal is to make your cleats feel like a natural extension of your feet. Take your time, listen to your body, and enjoy the game with confidence in your well-fitted cleats.